
Create a Background Image Slideshow Effect
With Full Screen Background Images Pro, you can add an unlimited number of background images to your site. That means every blog post, page, category, home page, etc. can have it’s own unique image in the background.
If you add multiple images to the same page, the plugin will automatically create a slideshow effect showing one image after the other. This effect will transition between each background image that was added to the page.
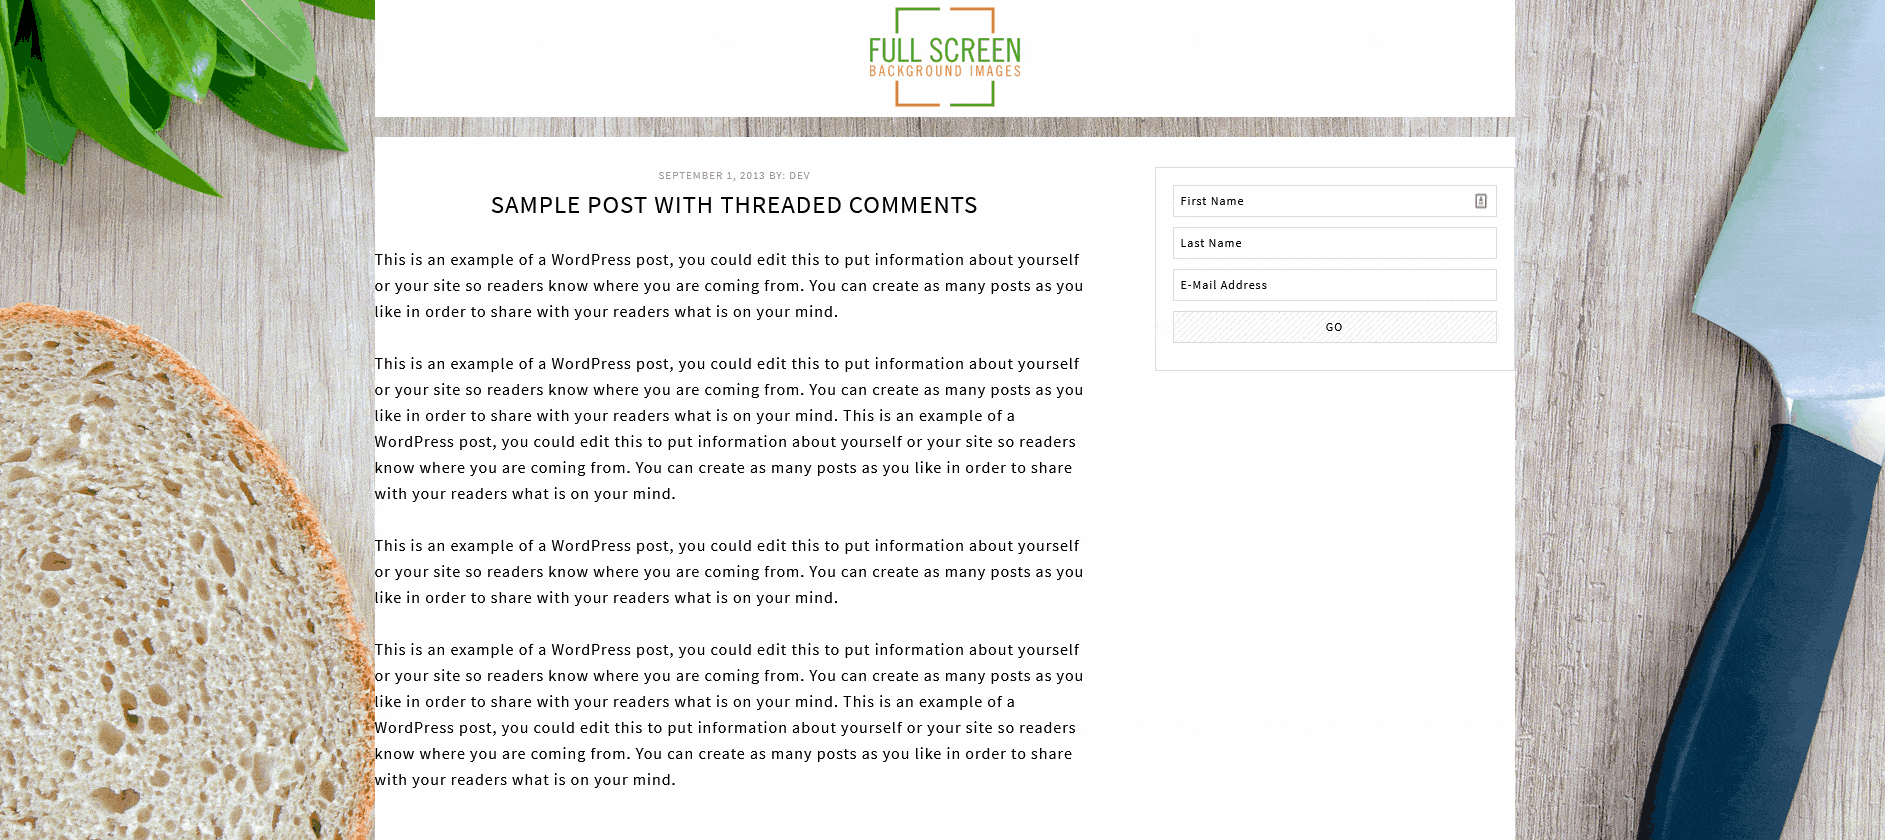
Here’s an example of what that effect can look like:
The above is only using two images, and was sped up for demonstration purposes. If you have more than two images, the effect would rotate through all of the images, and you can specify the duration that each image is shown for.
How to Create a Background Image Slideshow Effect
First, make sure you have two or more images that you want to use in the background of your page. Then, navigate to Appearance > Fullscreen BG Image
- Click Add New Image
- Click the Choose Image button
- Select the image from your media library, or upload the image from your computer.
- Enter a number in the priority box. The number entered here will determine which image will be shown first, second, third, etc. Lower numbers are shown earlier than higher numbers.
- Choose the context on which to display the image. This controls which page/post/etc. the image will be displayed on.
Repeat the steps in the list above for each image. In the last step, be sure to select the same context for each image.
Finally navigate to the page you selected in the context settings to view the slideshow effect.
How to Control the Time Between Image Transitions
Towards the bottom of the Appearance > Fullscreen BG Image page is a Settings section.
Here, you will need to enter the image fade duration in milliseconds (1 second = 1000 milliseconds). Enter this in the box labeled “Enter the image fade duration”.
So, for example if you want there to be 10 seconds in between the transition of each image, you would enter 10000 in the box.
Click Save Options once you are finished editing the settings.
Note: You can also achieve a similar effect by entering the time in the box labeled “Enter the wait time for image fade in”. This will determine how long it takes each image to fade into focus.